

Did you realize you may host a Unity game in a Hugging Face Space? No? Well, you may!
Hugging Face Spaces are a simple method to construct, host, and share demos. While they’re typically used for Machine Learning demos,
they may host playable Unity games. Listed below are some examples:
Here’s how you may host your personal Unity game in a Space.
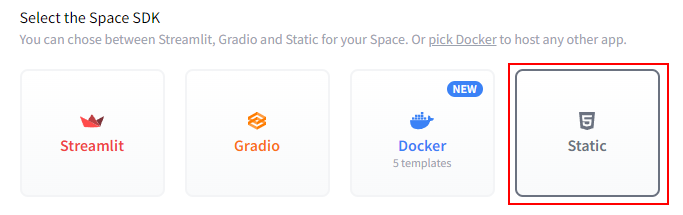
Step 1: Create a Space using the Static HTML template
First, navigate to Hugging Face Spaces to create an area.

Select the “Static HTML” template, give your Space a reputation, and create it.
Step 2: Use Git to Clone the Space
Clone your newly created Space to your local machine using Git. You may do that by running the next command in your terminal or command prompt:
git clone https://huggingface.co/spaces/{your-username}/{your-space-name}
Step 3: Open your Unity Project
Open the Unity project you need to host in your Space.
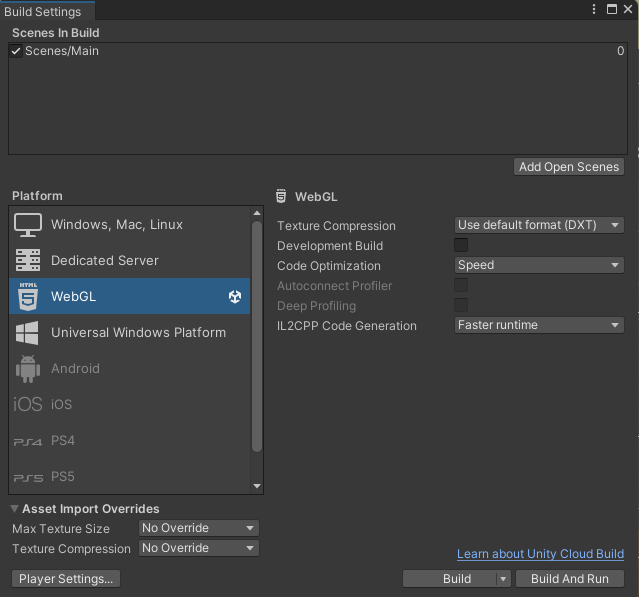
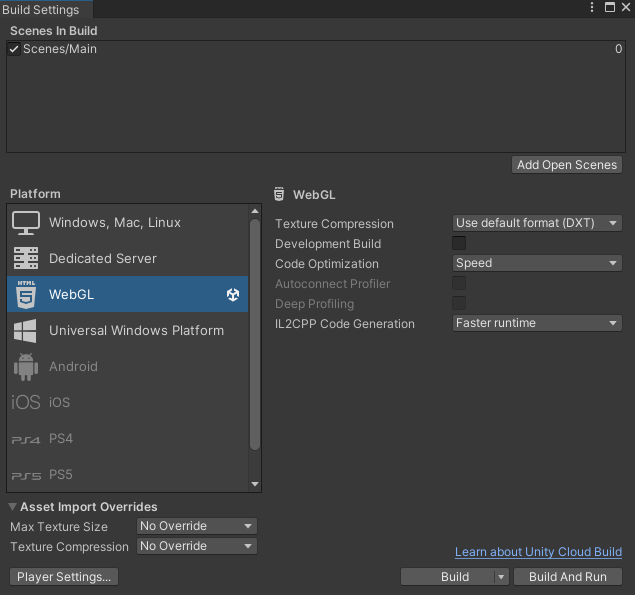
Step 4: Switch the Construct Goal to WebGL
Navigate to File > Construct Settings and switch the Construct Goal to WebGL.
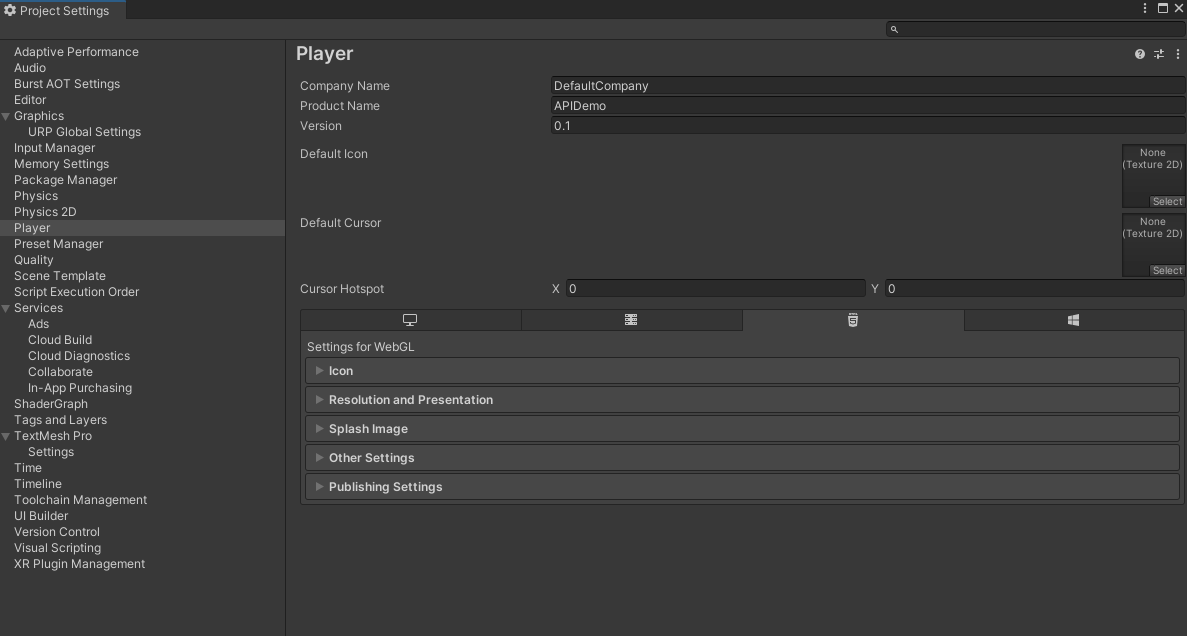
Step 5: Open Player Settings
Within the Construct Settings window, click the “Player Settings” button to open the Player Settings panel.
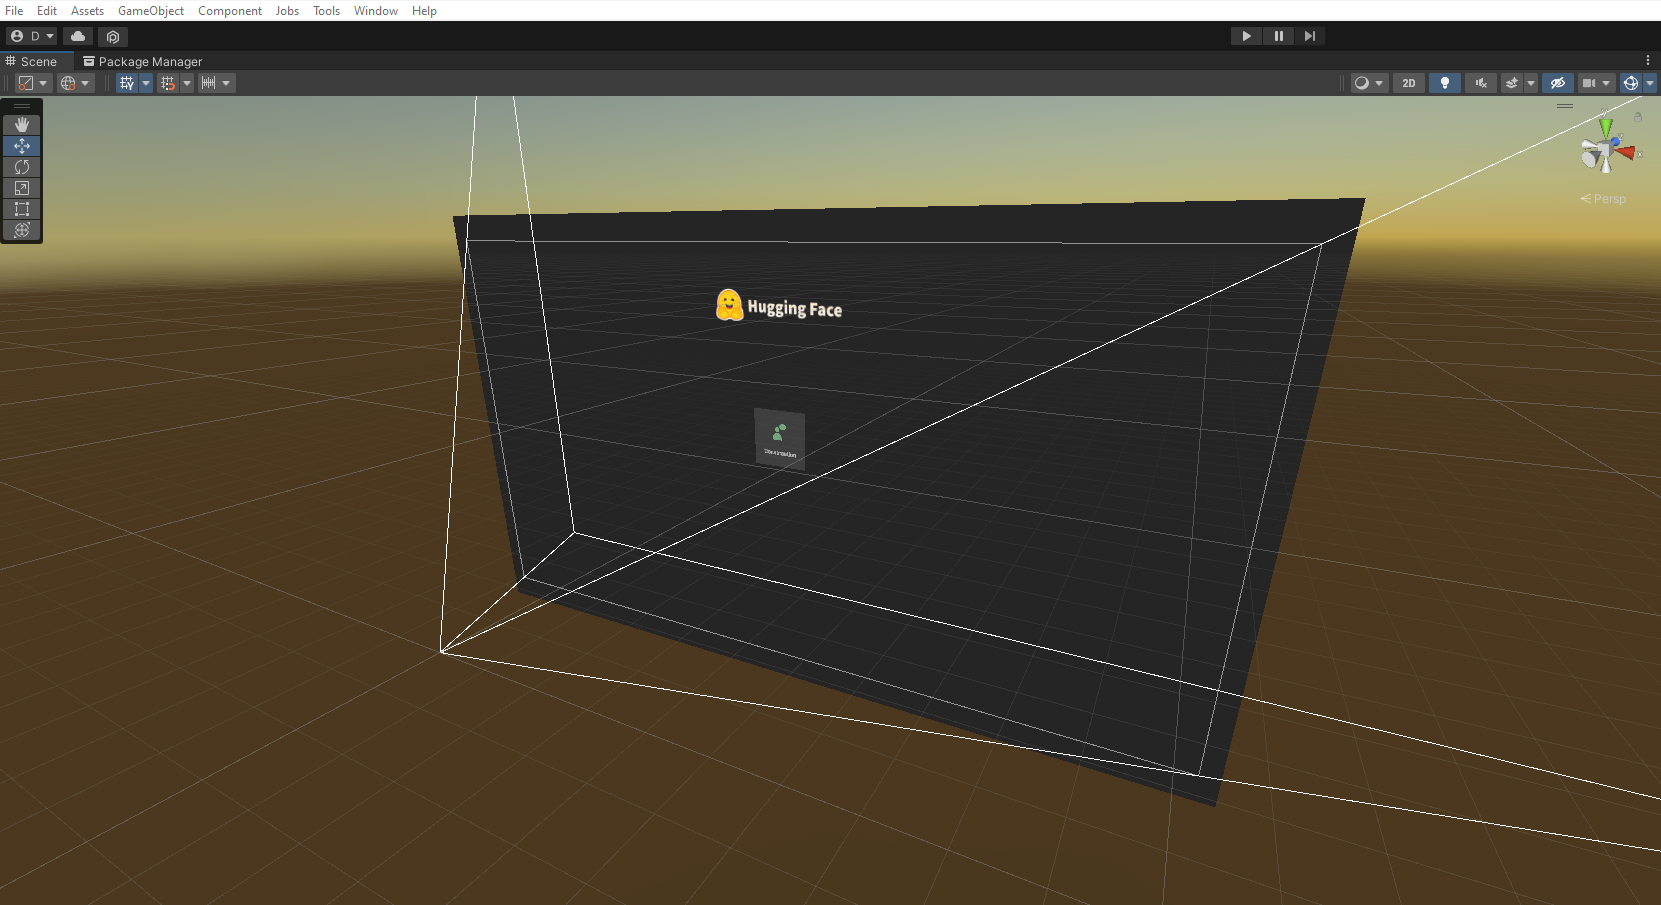
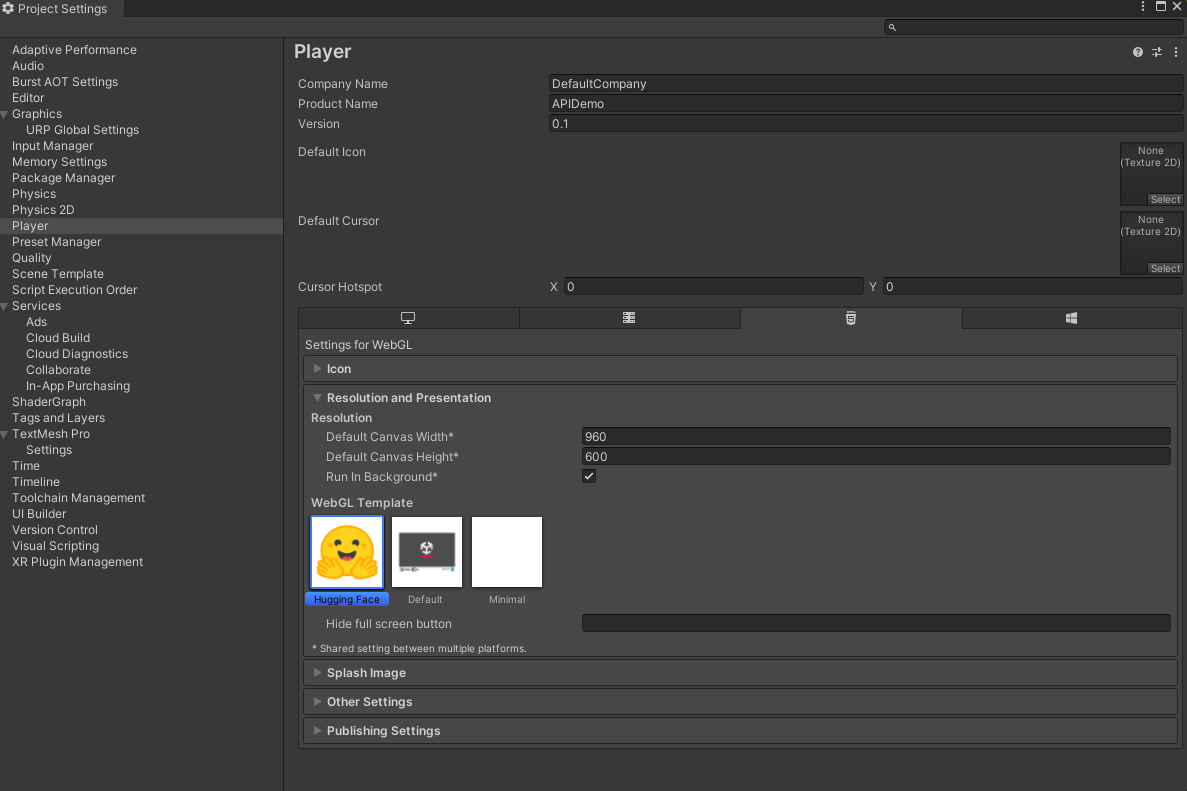
Step 6: Optionally, Download the Hugging Face Unity WebGL Template
You may enhance your game’s appearance in a Space by downloading the Hugging Face Unity WebGL template, available here. Just download the repository and drop it in your project files.
Then, within the Player Settings panel, switch the WebGL template to Hugging Face. To achieve this, in Player Settings, click “Resolution and Presentation”, then select the Hugging Face WebGL template.
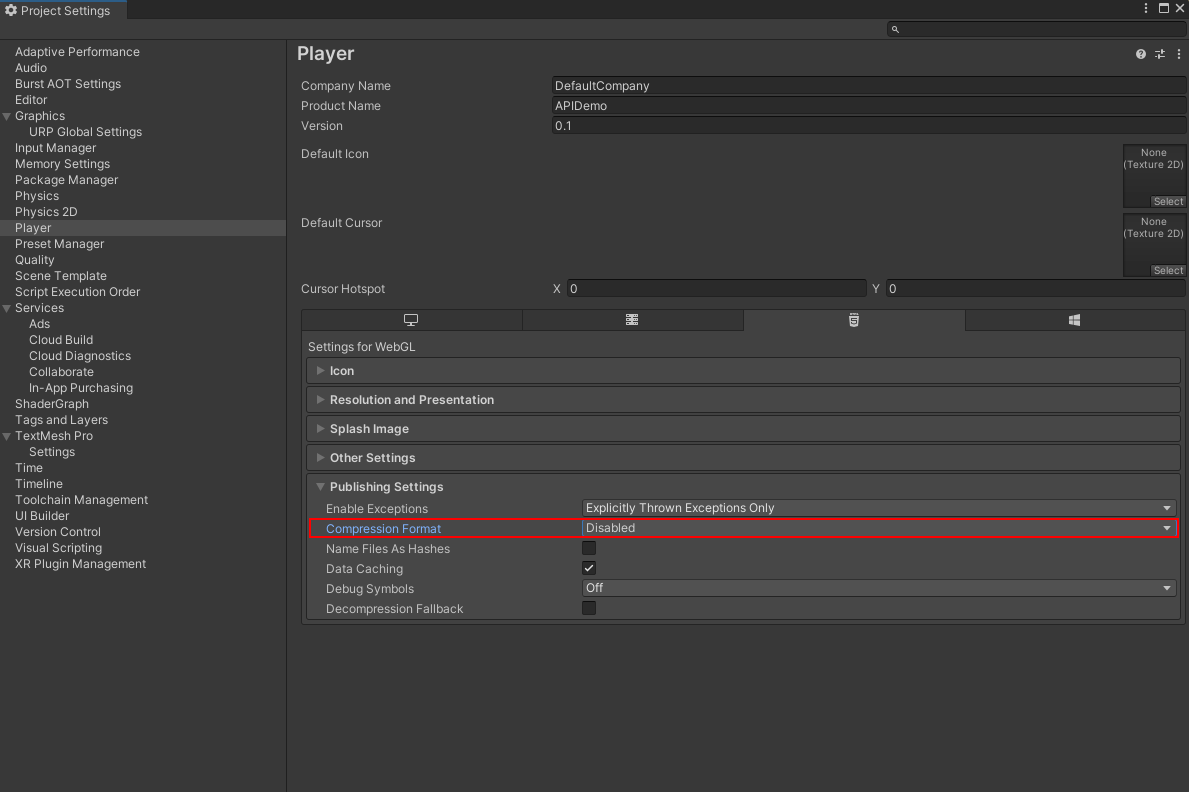
Step 7: Change the Compression Format to Disabled
Within the Player Settings panel, navigate to the “Publishing Settings” section and alter the Compression Format to “Disabled”.
Step 8: Construct your Project
Return to the Construct Settings window and click on the “Construct” button. Select a location to avoid wasting your construct files, and Unity will construct the project for WebGL.
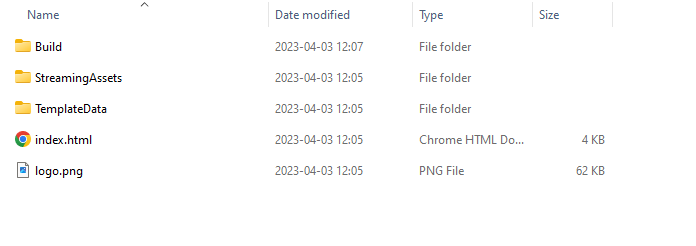
Step 9: Copy the Contents of the Construct Folder
After the construct process is finished, navigate to the folder containing your construct files. Copy the files within the construct folder to the repository you cloned in Step 2.
Step 10: Enable Git-LFS for Large File Storage
Navigate to your repository. Use the next commands to trace large construct files.
git lfs install
git lfs track Construct/*
Step 11: Push your Changes
Finally, use the next Git commands to push your changes:
git add .
git commit -m "Add Unity WebGL construct files"
git push
Done!
Congratulations! Refresh your Space. It is best to now give you the chance to play your game in a Hugging Face Space.
We hope you found this tutorial helpful. If you’ve any questions or would love to get more involved in using Hugging Face for Games, join the Hugging Face Discord!