

![]()
🤗 datasets is a library that makes it easy to access and share datasets. It also makes it easy to process data efficiently — including working with data which does not fit into memory.
When datasets was first launched, it was associated mostly with text data. Nevertheless, recently, datasets has added increased support for audio in addition to images. Particularly, there’s now a datasets feature type for images. A previous blog post showed how datasets will be used with 🤗 transformers to coach a picture classification model. On this blog post, we’ll see how we are able to mix datasets and a couple of other libraries to create a picture search application.
First, we’ll install datasets. Since we will be working with images, we’ll also install pillow. We’ll also need sentence_transformers and faiss. We’ll introduce those in additional detail below. We also install wealthy – we’ll only briefly use it here, but it surely’s an excellent handy package to have around — I’d really recommend exploring it further!
!pip install datasets pillow wealthy faiss-gpu sentence_transformers
To begin, let’s take a take a look at the image feature. We are able to use the wonderful wealthy library to poke around python
objects (functions, classes etc.)
from wealthy import inspect
import datasets
inspect(datasets.Image, help=True)
╭───────────────────────── <class 'datasets.features.image.Image'> ─────────────────────────╮
│ class Image(decode: bool = True, id: Union[str, NoneType] = None) -> None:                │
│                                                                                           │
│ Image feature to read image data from a picture file.                                      │
│                                                                                           │
│ Input: The Image feature accepts as input:                                                │
│ - A :obj:`str`: Absolute path to the image file (i.e. random access is allowed).          │
│ - A :obj:`dict` with the keys:                                                            │
│                                                                                           │
│     - path: String with relative path of the image file to the archive file.              │
│     - bytes: Bytes of the image file.                                                     │
│                                                                                           │
│   This is beneficial for archived files with sequential access.                               │
│                                                                                           │
│ - An :obj:`np.ndarray`: NumPy array representing a picture.                                │
│ - A :obj:`PIL.Image.Image`: PIL image object.                                             │
│                                                                                           │
│ Args:                                                                                     │
│     decode (:obj:`bool`, default ``True``): Whether to decode the image data. If `False`, │
│         returns the underlying dictionary within the format {"path": image_path, "bytes":     │
│ image_bytes}.                                                                             │
│                                                                                           │
│  decode = True                                                                            │
│   dtype = 'PIL.Image.Image'                                                               │
│      id = None                                                                            │
│ pa_type = StructType(struct<bytes: binary, path: string>)                                 │
╰───────────────────────────────────────────────────────────────────────────────────────────╯
We are able to see there a couple of alternative ways through which we are able to pass in our images. We’ll come back to this in a bit while.
A extremely nice feature of the datasets library (beyond the functionality for processing data, memory mapping etc.) is that you simply get
some nice things ‘at no cost’. One in every of these is the flexibility so as to add a faiss index to a dataset. faiss is a “library for efficient similarity search and clustering of dense
vectors”.
The datasets docs shows an example of using a faiss index for text retrieval. On this post we’ll see if we are able to do the identical for images.
The dataset: “Digitised Books – Images identified as Embellishments. c. 1510 – c. 1900”
This can be a dataset of images which have been pulled from a group of digitised books from the British Library. These images come from books across a large time period and from a broad range of domains. The photographs were extracted using information contained within the OCR output for every book. Because of this, it’s known which book the photographs got here from, but not necessarily the rest about that image i.e. what’s shown within the image.
Some attempts to assist overcome this have included uploading the photographs to flickr. This enables people to tag the photographs or put them into various different categories.
There have also been projects to tag the dataset using machine learning. This work makes it possible to go looking by tags, but we’d need a ‘richer’ ability to go looking. For this particular experiment, we’ll work with a subset of the collections which contain “embellishments”. This dataset is a bit smaller, so it’ll be higher for experimenting with. We are able to get the total data from the British Library’s data repository: https://doi.org/10.21250/db17. For the reason that full dataset continues to be fairly large, you will likely want to begin with a smaller sample.
Creating our dataset
Our dataset consists of a folder containing subdirectories inside that are images. This can be a fairly standard format for sharing image datasets. Because of a recently merged pull request we are able to directly load this dataset using datasets ImageFolder loader 🤯
from datasets import load_dataset
dataset = load_dataset("imagefolder", data_files="https://zenodo.org/record/6224034/files/embellishments_sample.zip?download=1")
Let’s examine what we get back.
dataset
DatasetDict({
    train: Dataset({
        features: ['image', 'label'],
        num_rows: 10000
    })
})
We are able to get back a DatasetDict, and we now have a Dataset with image and label features. Since we have no train/validation splits here, let’s grab the train a part of our dataset. Let’s also take a take a look at one example from our dataset to see what this looks like.
dataset = dataset["train"]
dataset[0]
{'image': 0x7F9488DBB090>,
 'label': 208}
Let’s start with the label column. It comprises the parent folder for our images. On this case, the label column represents the 12 months of publication for the books from which the photographs are taken. We are able to see the mappings for this using dataset.features:
dataset.features['label']
On this particular dataset, the image filenames also contain some metadata concerning the book from which the image was taken. There are a couple of ways we are able to get this information.
Once we take a look at one example from our dataset that the image feature was a PIL.JpegImagePlugin.JpegImageFile. Since PIL.Images have a filename attribute, a technique through which we are able to grab our filenames is by accessing this.
dataset[0]['image'].filename
/root/.cache/huggingface/datasets/downloads/extracted/f324a87ed7bf3a6b83b8a353096fbd9500d6e7956e55c3d96d2b23cc03146582/embellishments_sample/1920/000499442_0_000579_1_[The Ring and the Book etc ]_1920.jpg
Since we’d want quick access to this information later, let’s create a brand new column to extract the filename. For this, we’ll use the map method.
dataset = dataset.map(lambda example: {"fname": example['image'].filename.split("https://huggingface.co/")[-1]})
We are able to take a look at one example to see what this looks like now.
dataset[0]
{'fname': '000499442_0_000579_1_[The Ring and the Book  etc ]_1920.jpg',
 'image': 0x7F94862A9650>,
 'label': 208}
We have got our metadata now. Let’s examine some pictures already! If we access an example and index into the image column we’ll see our image 😃
dataset[10]['image']
Note in an earlier version of this blog post the steps to download and cargo the photographs was far more convoluted. The brand new ImageFolder loader makes this process much easier 😀 Particularly, we needn’t worry about the right way to load our images since datasets took care of this for us.
Push all of the things to the hub!

One in every of the super awesome things concerning the 🤗 ecosystem is the Hugging Face Hub. We are able to use the Hub to access models and datasets. It is commonly used for sharing work with others, but it could possibly even be a useful gizmo for work in progress. datasets recently added a push_to_hub method that permits you to push a dataset to the Hub with minimal fuss. This will be really helpful by allowing you to pass around a dataset with all of the transforms etc. already done.
For now, we’ll push the dataset to the Hub and keep it private initially.
Depending on where you might be running the code, you could have to authenticate. You may either do that using the huggingface-cli login command or, should you are running in a notebook, using notebook_login
from huggingface_hub import notebook_login

notebook_login()
dataset.push_to_hub('davanstrien/embellishments-sample', private=True)
Note: in a previous version of this blog post we needed to do a couple of more steps to make sure images were embedded when using
push_to_hub. Because of this pull request we not have to worry about these extra steps. We just have to be certain thatembed_external_files=True(which is the default behaviour).
Switching machines
At this point, we have created a dataset and moved it to the Hub. This implies it is feasible to select up the work/dataset elsewhere.
On this particular example, getting access to a GPU is significant. Using the Hub as a strategy to pass around our data we could start on a laptop
and pick up the work on Google Colab.
If we move to a brand new machine, we may have to login again. Once we have done this we are able to load our dataset
from datasets import load_dataset

dataset = load_dataset("davanstrien/embellishments-sample", use_auth_token=True)
Creating embeddings 🕸
We now have a dataset with a bunch of images in it. To start creating our image search app, we want to embed these images. There are numerous ways to try to do that, but one possible way is to make use of the CLIP models via the sentence_transformers library. The CLIP model from OpenAI learns a joint representation for each images and text, which may be very useful for what we wish to do since we wish to input text and get back a picture.
We are able to download the model using the SentenceTransformer class.
from sentence_transformers import SentenceTransformer

model = SentenceTransformer('clip-ViT-B-32')
This model will take as input either a picture or some text and return an embedding. We are able to use the datasets map method to encode all our images using this model. Once we call map, we return a dictionary with the important thing embeddings containing the embeddings returned by the model. We also pass device="cuda" once we call the model; this ensures that we’re doing the encoding on the GPU.
ds_with_embeddings = dataset.map(
    lambda example: {'embeddings':model.encode(example['image'], device='cuda')}, batched=True, batch_size=32)
We are able to ‘save’ our work by pushing back to the Hub using
push_to_hub.
ds_with_embeddings.push_to_hub('davanstrien/embellishments-sample', private=True)
If we were to maneuver to a distinct machine, we could grab our work again by loading it from the Hub 😃
from datasets import load_dataset

ds_with_embeddings = load_dataset("davanstrien/embellishments-sample", use_auth_token=True)
We now have a brand new column which comprises the embeddings for our images. We could manually search through these and compare them to some input embedding but datasets has an add_faiss_index method. This uses the faiss library to create an efficient index for searching embeddings. For more background on this library, you possibly can watch this YouTube video
ds_with_embeddings['train'].add_faiss_index(column='embeddings')
Dataset({
        features: ['fname', 'year', 'path', 'image', 'embeddings'],
        num_rows: 10000
    })
Image search
Note that these examples were generated from the total version of the dataset so you could get barely different results.
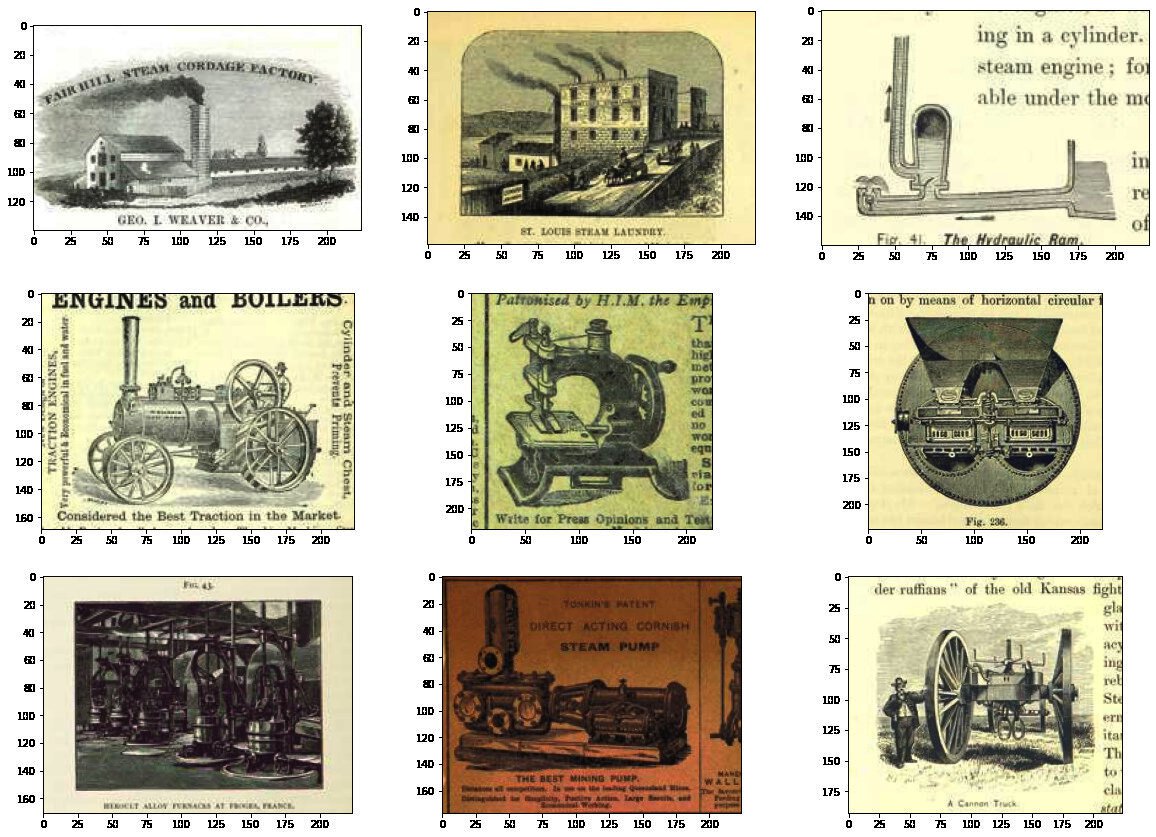
We now have every part we want to create an easy image search. We are able to use the identical model we used to encode our images to encode some input text. This may act because the prompt we try to find close examples for. Let’s start with ‘a steam engine’.
prompt = model.encode("A steam engine")
We are able to use one other method from the datasets library get_nearest_examples to get images which have an embedding near our input prompt embedding. We are able to pass in quite a lot of results we wish to get back.
scores, retrieved_examples = ds_with_embeddings['train'].get_nearest_examples('embeddings', prompt, k=9)
We are able to index into the primary example this retrieves:
retrieved_examples['image'][0]

This is not quite a steam engine, but it surely’s also not a totally weird result. We are able to plot the opposite results to see what was returned.
import matplotlib.pyplot as plt
plt.figure(figsize=(20, 20))
columns = 3
for i in range(9):
    image = retrieved_examples['image'][i]
    plt.subplot(9 / columns + 1, columns, i + 1)
    plt.imshow(image)
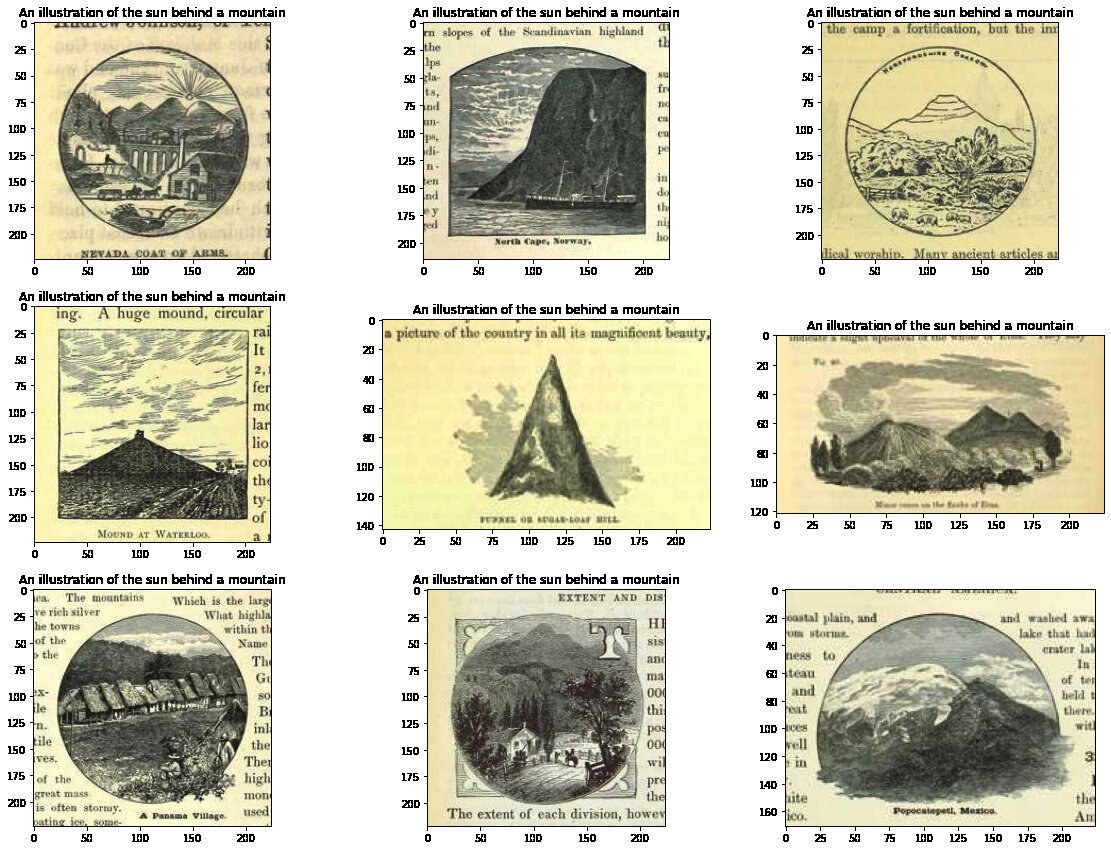
A few of these results look fairly near our input prompt. We are able to wrap
this in a function so we are able to more easily mess around with different prompts
def get_image_from_text(text_prompt, number_to_retrieve=9):
    prompt = model.encode(text_prompt)
    scores, retrieved_examples = ds_with_embeddings['train'].get_nearest_examples('embeddings', prompt, k=number_to_retrieve)
    plt.figure(figsize=(20, 20))
    columns = 3
    for i in range(9):
        image = retrieved_examples['image'][i]
        plt.title(text_prompt)
        plt.subplot(9 / columns + 1, columns, i + 1)
        plt.imshow(image)
get_image_from_text("An illustration of the sun behind a mountain")
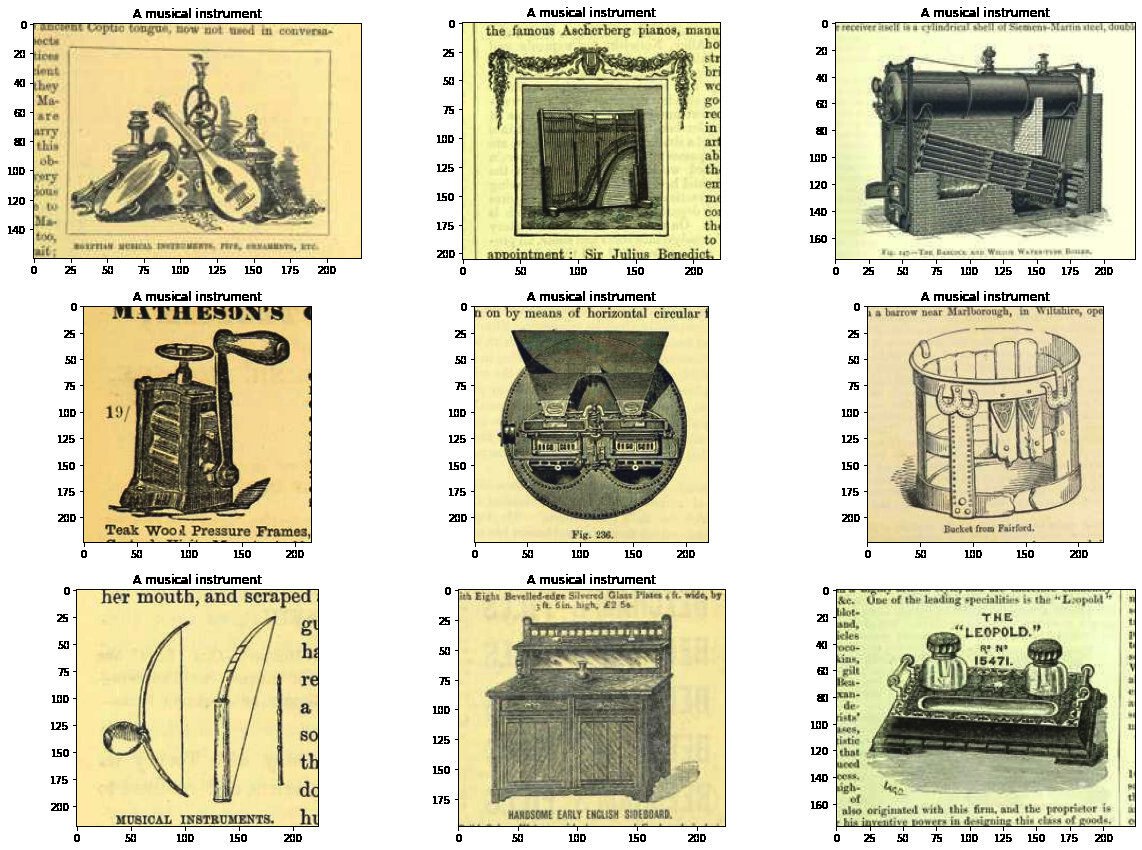
Trying a bunch of prompts ✨
Now we now have a function for getting a couple of results, we are able to try a bunch of
different prompts:
-
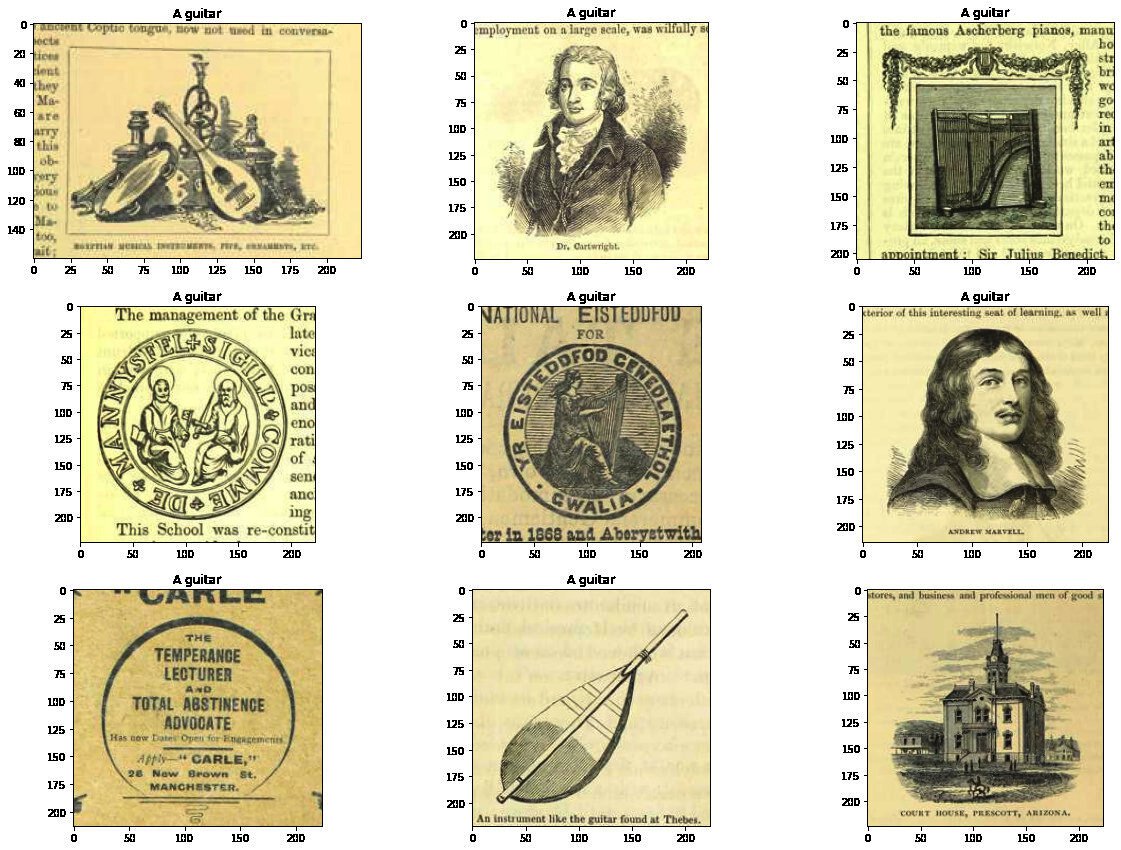
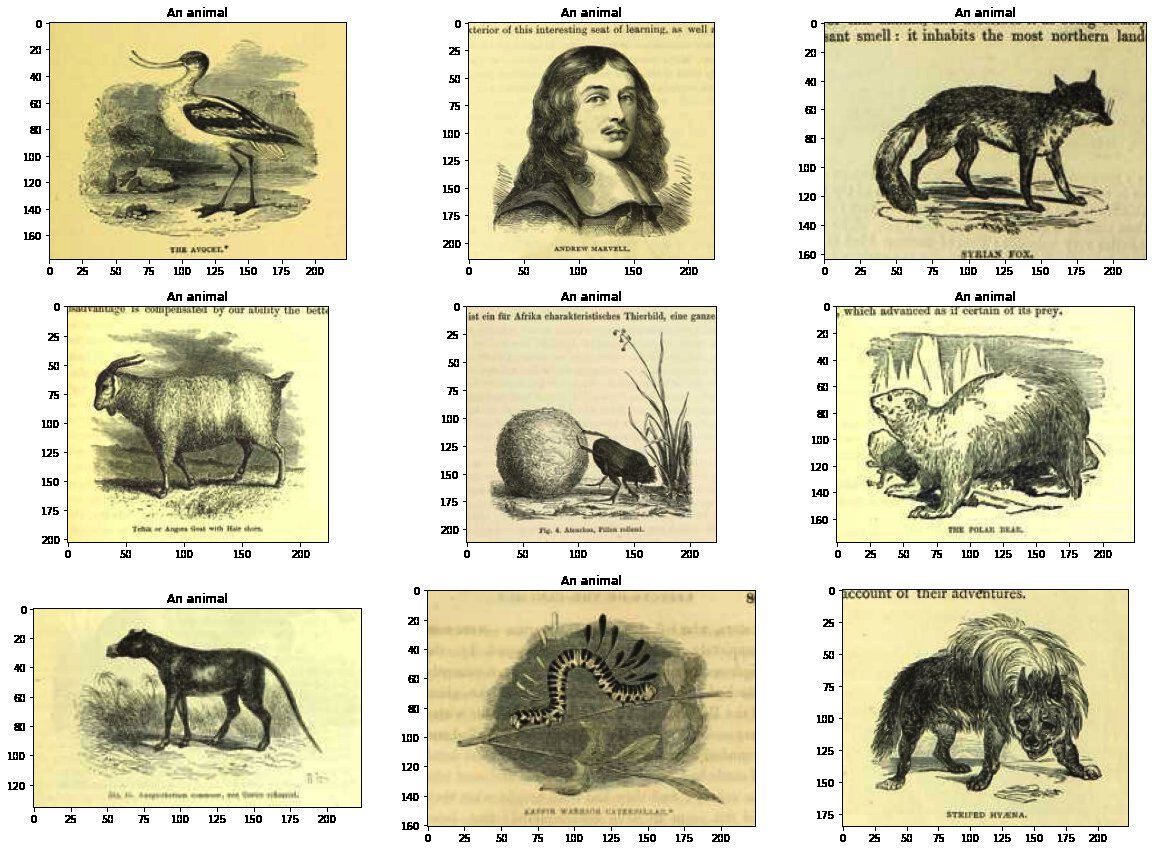
For a few of these I’ll select prompts that are a broad ‘category’ i.e. ‘a musical instrument’ or ‘an animal’, others are specific i.e. ‘a guitar’.
-
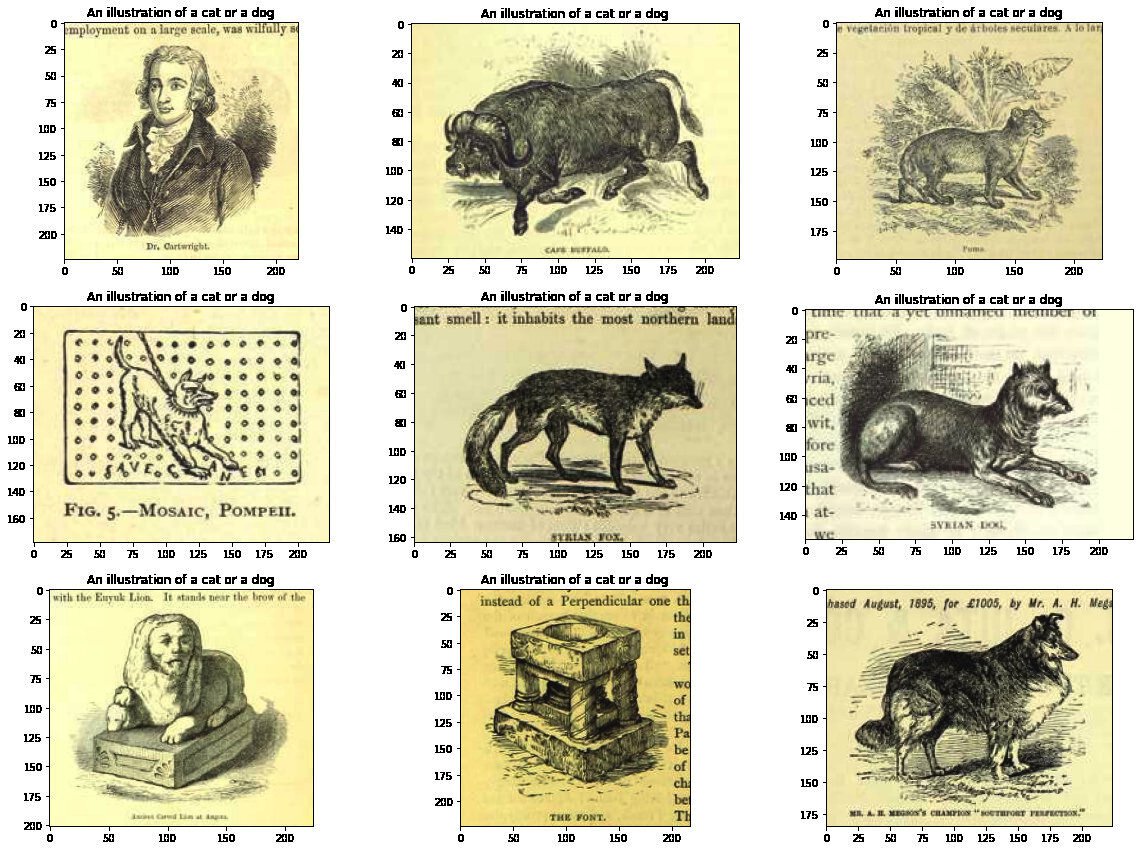
Out of interest I also tried a boolean operator: “An illustration of a cat or a dog”.
-
Finally I attempted something a bit more abstract: “an empty abyss”
prompts = ["A musical instrument", "A guitar", "An animal", "An illustration of a cat or a dog", "an empty abyss"]
for prompt in prompts:
    get_image_from_text(prompt)
![]()
We are able to see these results aren’t at all times right, but they are frequently reasonable. It already looks as if this might be useful for looking for the semantic content of a picture on this dataset. Nevertheless we’d hold off on sharing this as is…
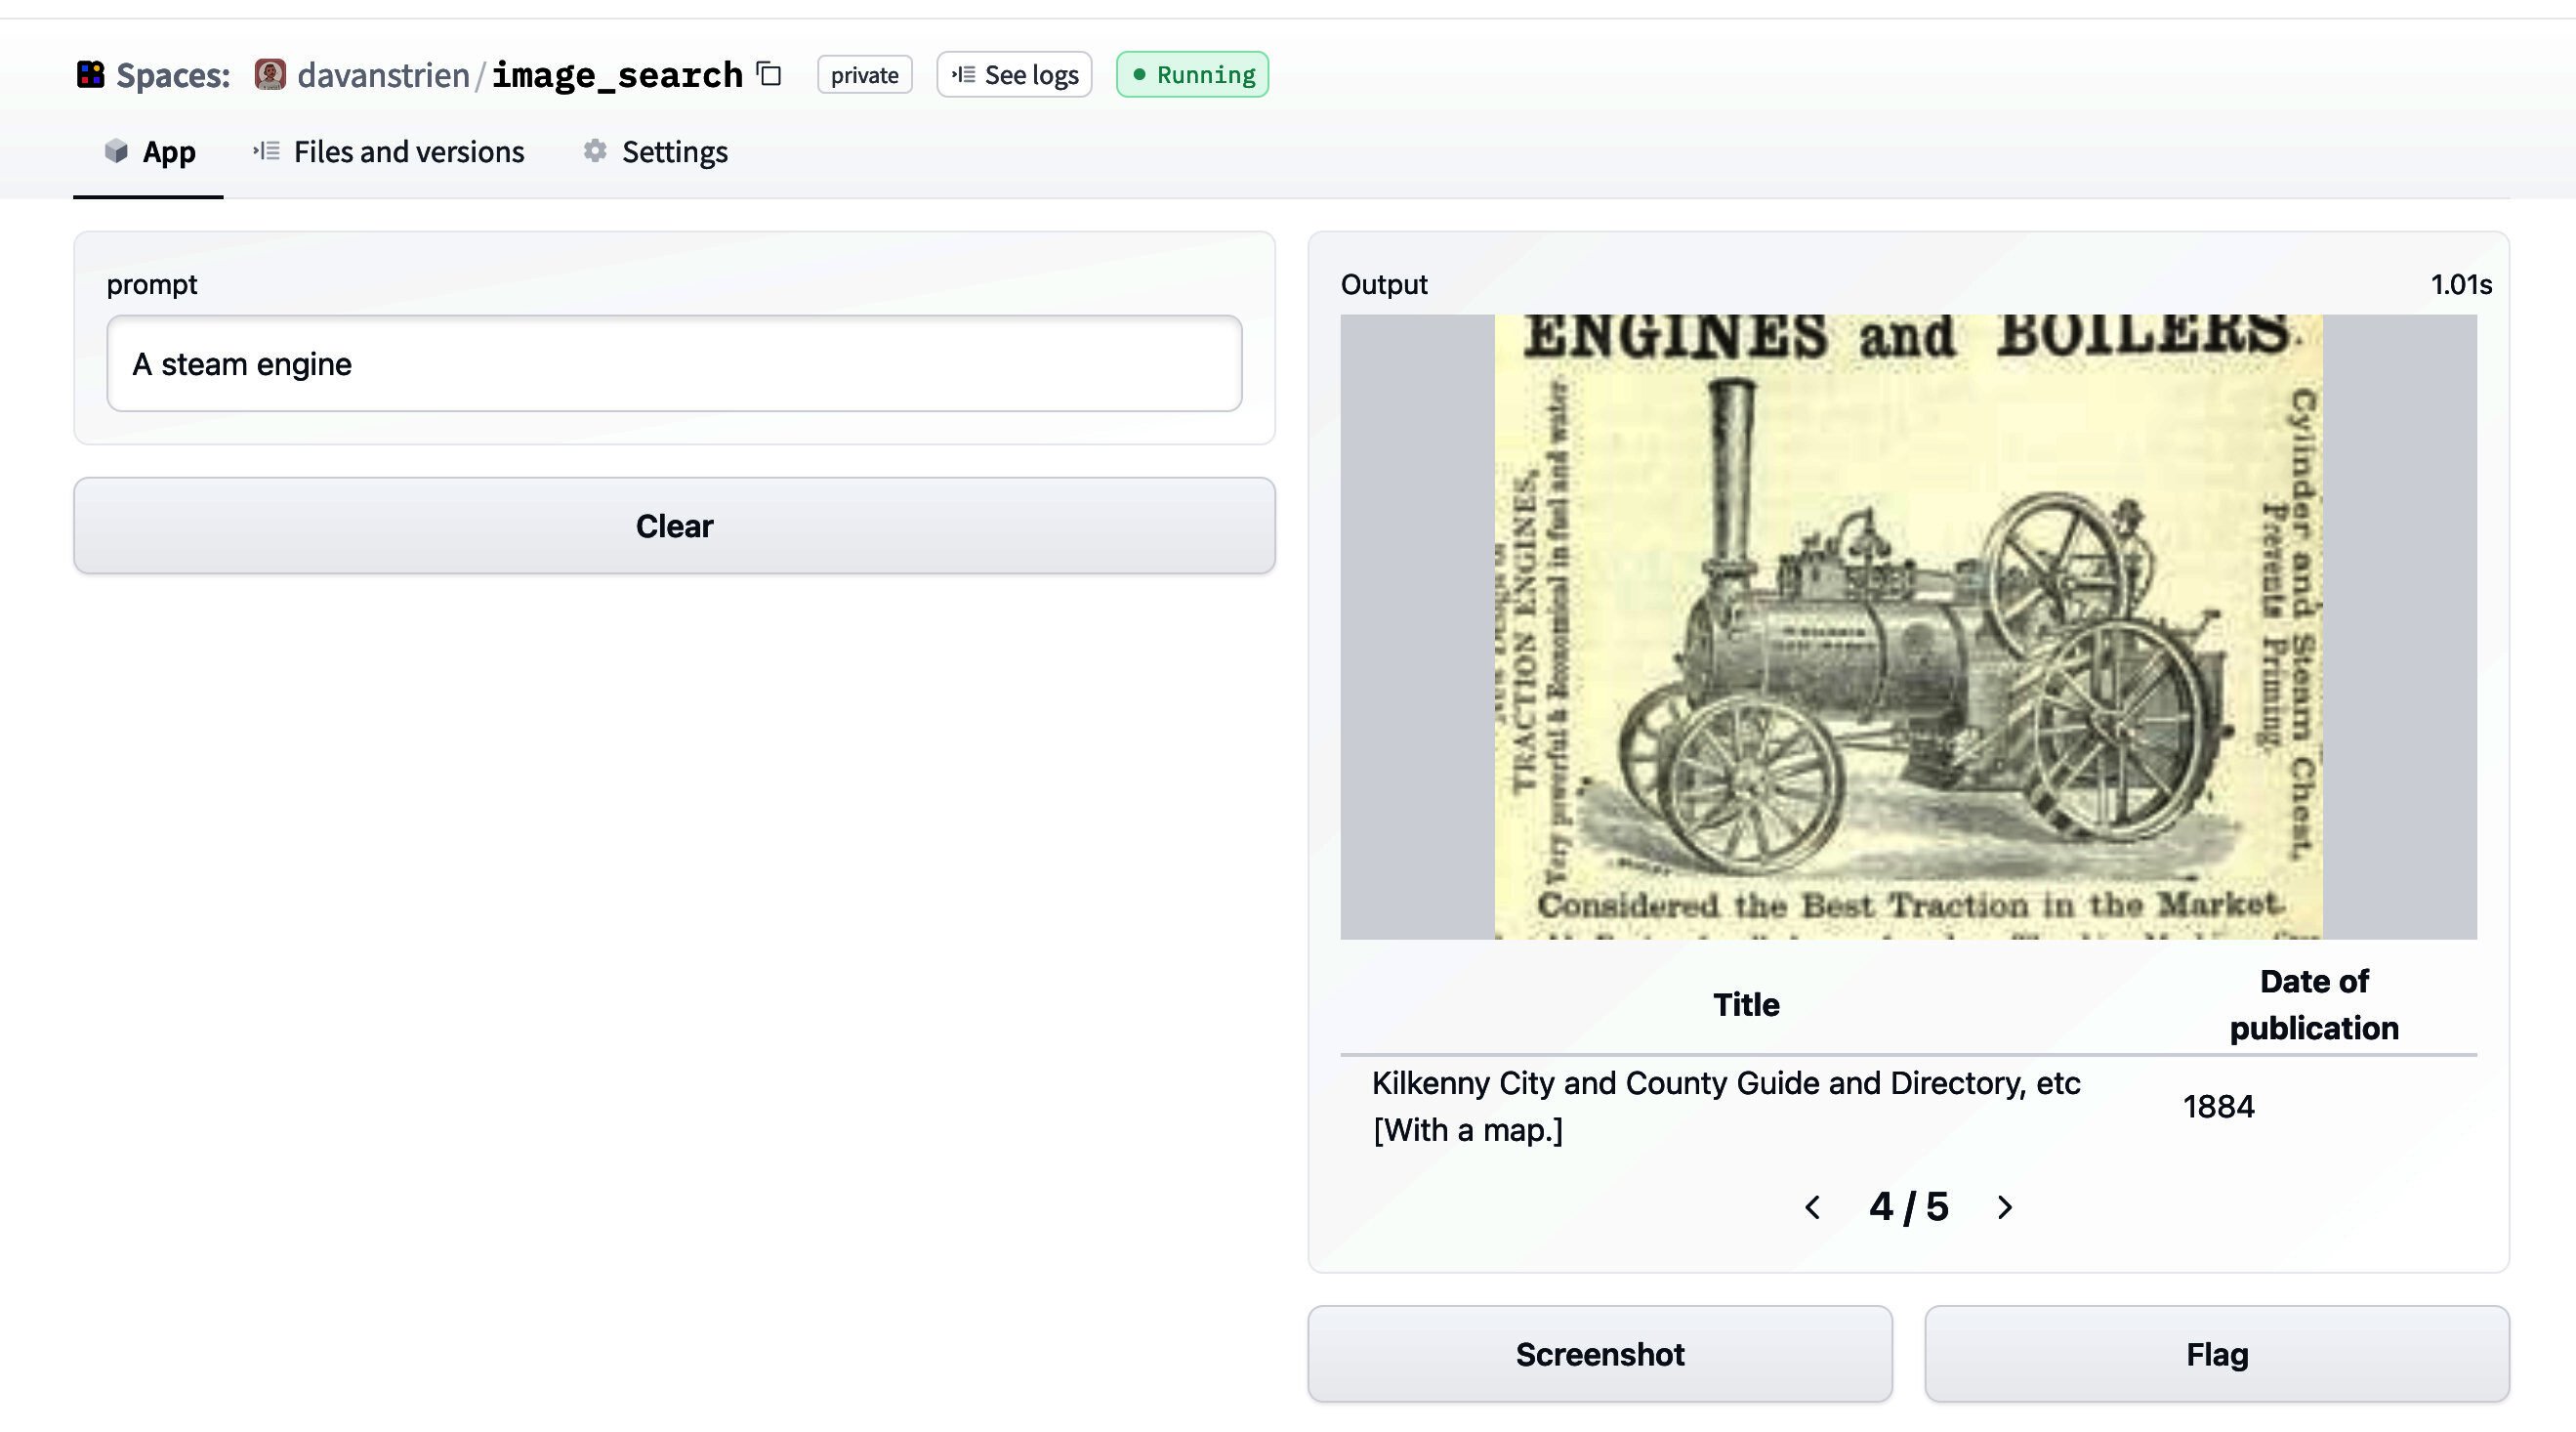
Making a Hugging Face Space? 🤷🏼
One obvious next step for this sort of project is to create a Hugging Face Space demo. That is what I’ve done for other models.
It was a reasonably easy process to get a Gradio app setup from the purpose we got to here. Here’s a screenshot of this app:
Nevertheless, I’m a bit bit vary about making this public straightaway. the model card for the CLIP model we are able to take a look at the first intended uses:
Primary intended uses
We primarily imagine the model will probably be utilized by researchers to higher understand robustness, generalization, and other capabilities, biases, and constraints of computer vision models.
source
That is fairly near what we’re focused on here. Particularly we could be focused on how well the model deals with the sorts of images in our dataset (illustrations from mostly nineteenth century books). The photographs in our dataset are (probably) fairly different from the training data. The proven fact that a number of the images also contain text might help CLIP because it displays some OCR ability.
Nevertheless, the out-of-scope use cases within the model card:
Out-of-Scope Use Cases
Any deployed use case of the model – whether industrial or not – is currently out of scope. Non-deployed use cases comparable to image search in a constrained environment, are also not beneficial unless there’s thorough in-domain testing of the model with a particular, fixed class taxonomy. It’s because our safety assessment demonstrated a high need for task specific testing especially given the variability of CLIP’s performance with different class taxonomies. This makes untested and unconstrained deployment of the model in any use case > currently potentially harmful. > source
suggests that ‘deployment’ shouldn’t be an excellent idea. Whilst the outcomes I got are interesting, I have never played around with the model enough yet (and have not done anything more systematic to guage its performance and biases) to be confident about ‘deploying’ it. One other additional consideration is the goal dataset itself. The photographs are drawn from books covering quite a lot of subjects and time periods. There are many books which represent colonial attitudes and in consequence a number of the images included may represent certain groups of individuals in a negative way. This might potentially be a foul combo with a tool which allows any arbitrary text input to be encoded as a prompt.
There could also be ways around this issue but it will require a bit more thought.
Conclusion
Although we do not have a pleasant demo to point out for it, we have seen how we are able to use datasets to:
- load images into the brand new
Imagefeature type - ‘save’ our work using
push_to_huband use this to maneuver data between machines/sessions - create a
faissindex for images that we are able to use to retrieve images from a text (or image) input.