


Welcome to AI for Game Development! On this series, we’ll be using AI tools to create a completely functional farming game in only 5 days. By the tip of this series, you should have learned how you possibly can incorporate a wide range of AI tools into your game development workflow. I’ll show you ways you should use AI tools for:
- Art Style
- Game Design
- 3D Assets
- 2D Assets
- Story
Want the short video version? You may watch it here. Otherwise, when you want the technical details, keep reading!
Note: This tutorial is meant for readers who’re accustomed to Unity development and C#. For those who’re recent to those technologies, take a look at the Unity for Beginners series before continuing.
Day 1: Art Style
Step one in our game development process is deciding on the art style. To make your mind up on the art style for our farming game, we’ll be using a tool called Stable Diffusion. Stable Diffusion is an open-source model that generates images based on text descriptions. We’ll use this tool to create a visible style for our game.
Establishing Stable Diffusion
There are a pair options for running Stable Diffusion: locally or online. For those who’re on a desktop with an honest GPU and wish the fully-featured toolset, I like to recommend locally. Otherwise, you possibly can run an online solution.
Locally
We’ll be running Stable Diffusion locally using the Automatic1111 WebUI. That is a well-liked solution for running Stable Diffusion locally, nevertheless it does require some technical knowledge to establish. For those who’re on Windows and have an Nvidia GPU with no less than 8 gigabytes in memory, proceed with the instructions below. Otherwise, you could find instructions for other platforms on the GitHub repository README, or may opt as an alternative for an online solution.
Installation on Windows:
Requirements: An Nvidia GPU with no less than 8 gigabytes of memory.
- Install Python 3.10.6. You’ll want to check “Add Python to PATH” during installation.
- Install git.
- Clone the repository by typing the next within the Command Prompt:
git clone https://github.com/AUTOMATIC1111/stable-diffusion-webui.git
- Download the Stable Diffusion 1.5 weights. Place them within the
modelsdirectory of the cloned repository. - Run the WebUI by running
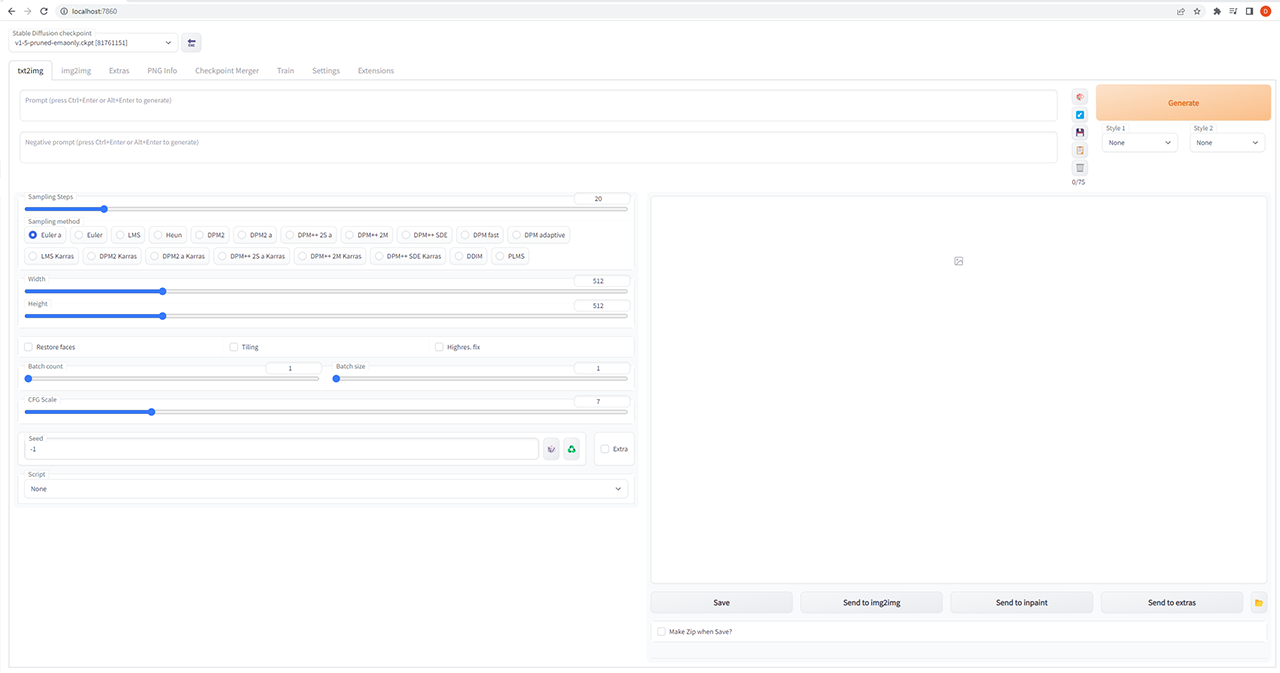
webui-user.batwithin the cloned repository. - Navigate to
localhost://7860to make use of the WebUI. If every thing is working appropriately, it should look something like this:
Online
For those who don’t meet the necessities to run Stable Diffusion locally, or prefer a more streamlined solution, there are numerous ways to run Stable Diffusion online.
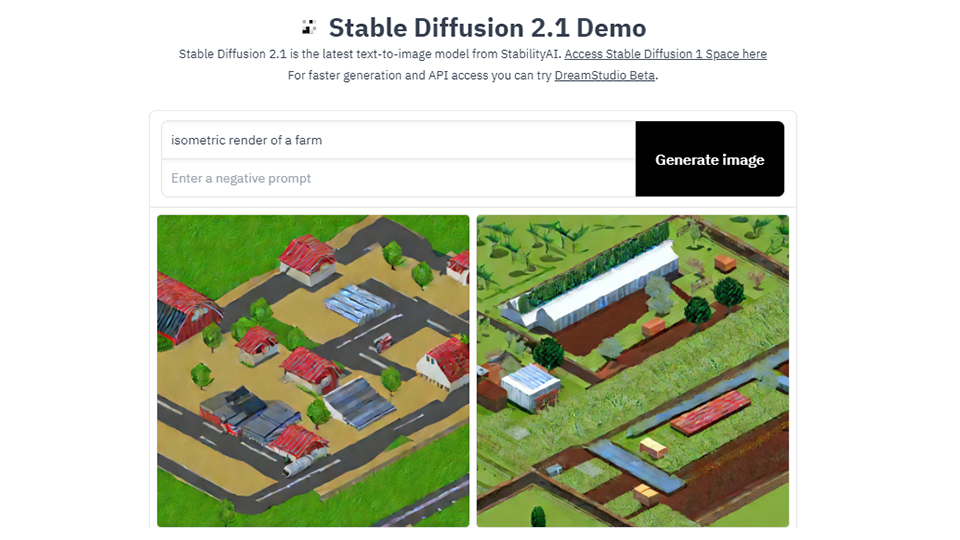
Free solutions include many spaces here on 🤗 Hugging Face, comparable to the Stable Diffusion 2.1 Demo or the camemduru webui. Yow will discover a listing of additional online services here. You may even use 🤗 Diffusers to jot down your personal free solution! Yow will discover an easy code example to start here.
Note: Parts of this series will use advanced features comparable to image2image, which is probably not available on all online services.
Generating Concept Art
Let’s generate some concept art. The steps are easy:
- Type what you wish.
- Click generate.
But, how do you get the outcomes you truly want? Prompting could be an art by itself, so it’s okay if the primary images you generate usually are not great. There are various amazing resources on the market to enhance your prompting. I made a 20-second video on the subject. You can even find this more extensive written guide.
The shared point of emphasis of those is to make use of a source comparable to lexica.art to see what others have generated with Stable Diffusion. Search for images which can be much like the style you wish, and get inspired. There isn’t any right or flawed answer here, but listed here are some suggestions when generating concept art with Stable Diffusion 1.5:
- Constrain the form of the output with words like isometric, easy, solid shapes. This produces styles which can be easier to breed in-game.
- Some keywords, like low poly, while on-topic, are likely to produce lower-quality results. Try to seek out alternate keywords that do not degrade results.
- Using names of specific artists is a strong strategy to guide the model toward specific styles with higher-quality results.
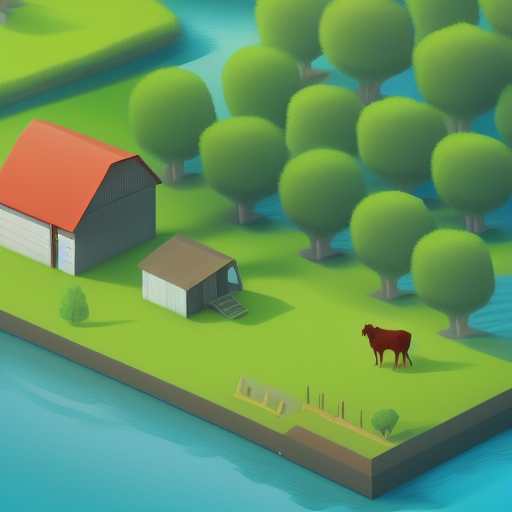
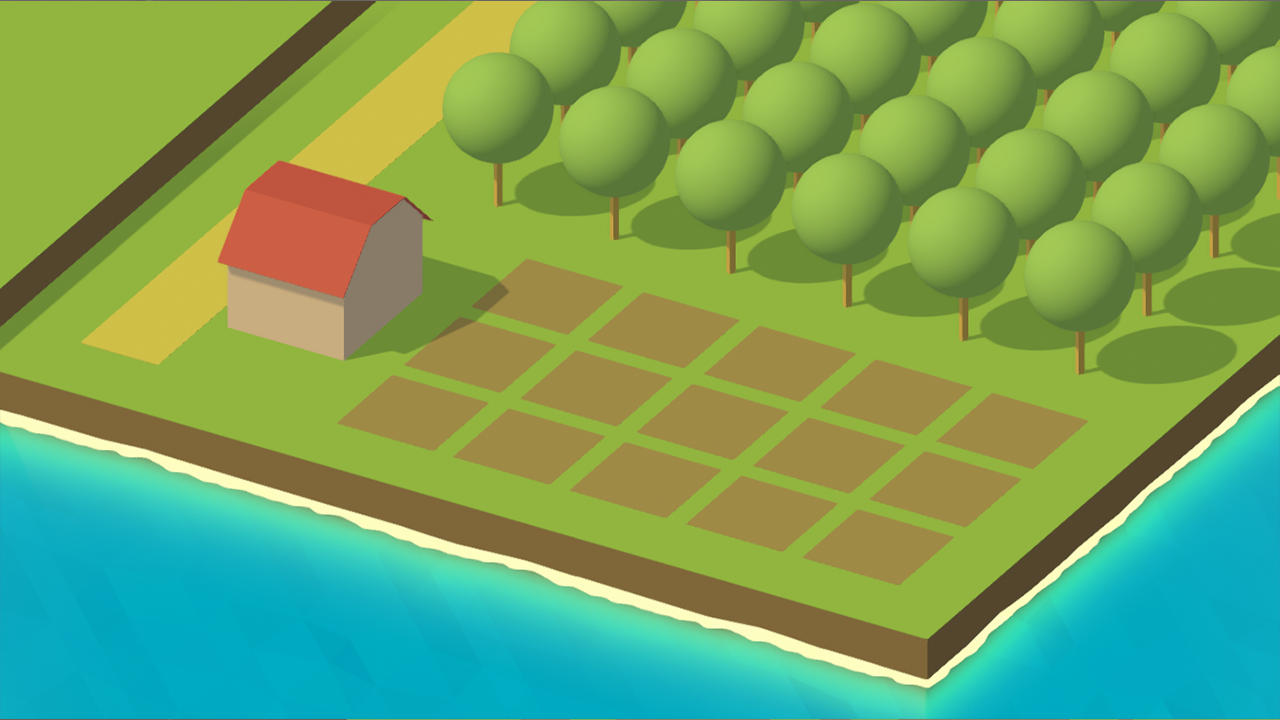
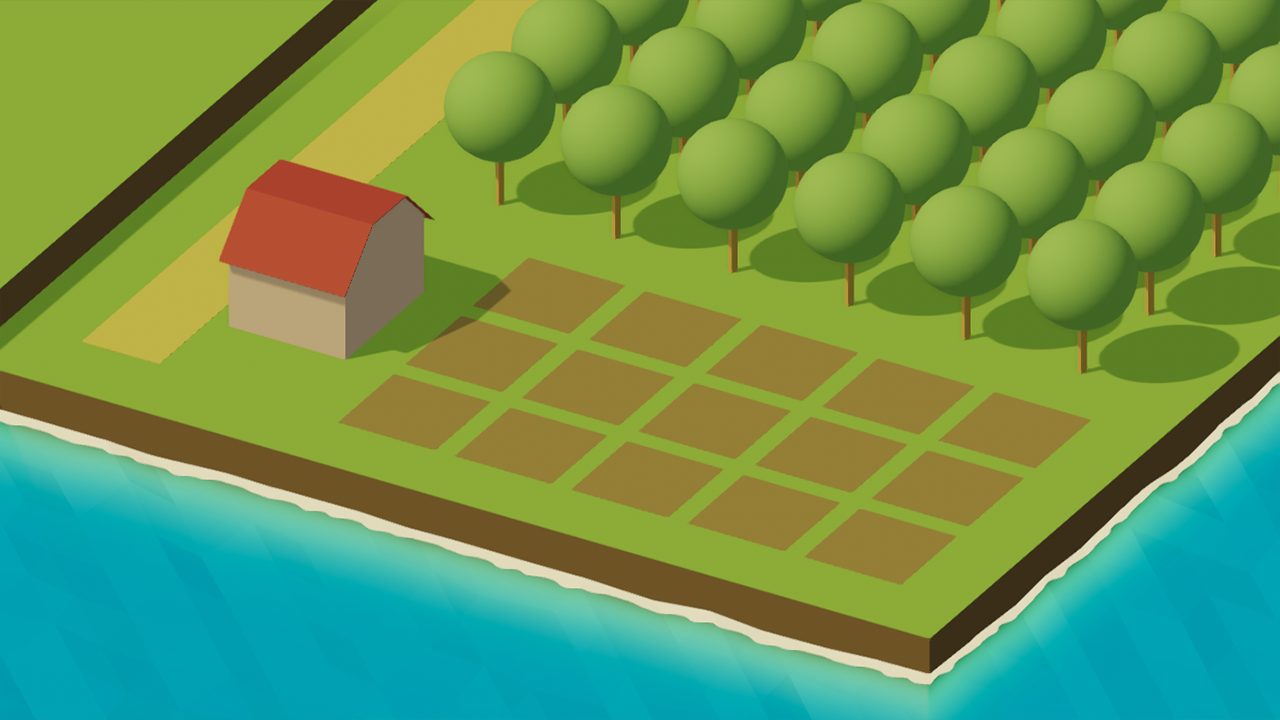
I settled on the prompt: isometric render of a farm by a river, easy, solid shapes, james gilleard, atey ghailan. Here’s the result:
Bringing it to Unity
Now, how can we make this idea art right into a game? We’ll be using Unity, a well-liked game engine, to bring our game to life.
- Create a Unity project using Unity 2021.9.3f1 with the Universal Render Pipeline.
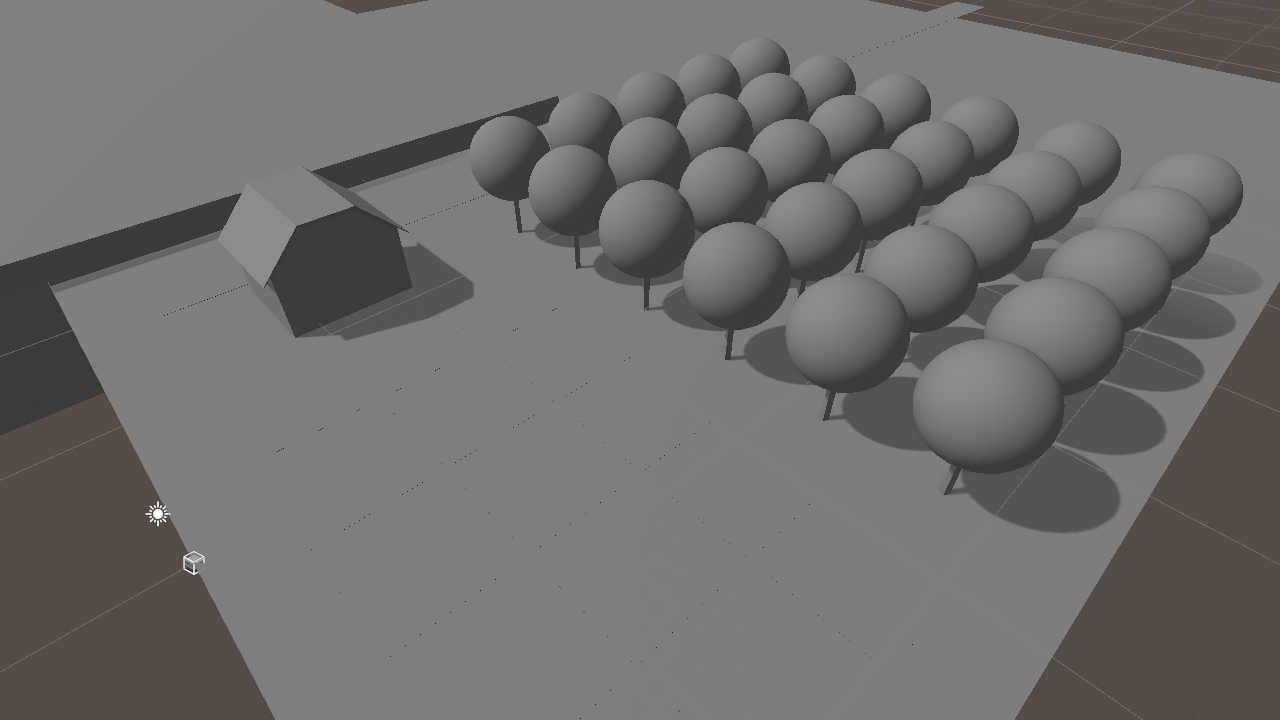
- Block out the scene using basic shapes. For instance, so as to add a cube, Right Click -> 3D Object -> Cube.
- Arrange your Materials, using the concept art as a reference. I’m using the essential built-in materials.
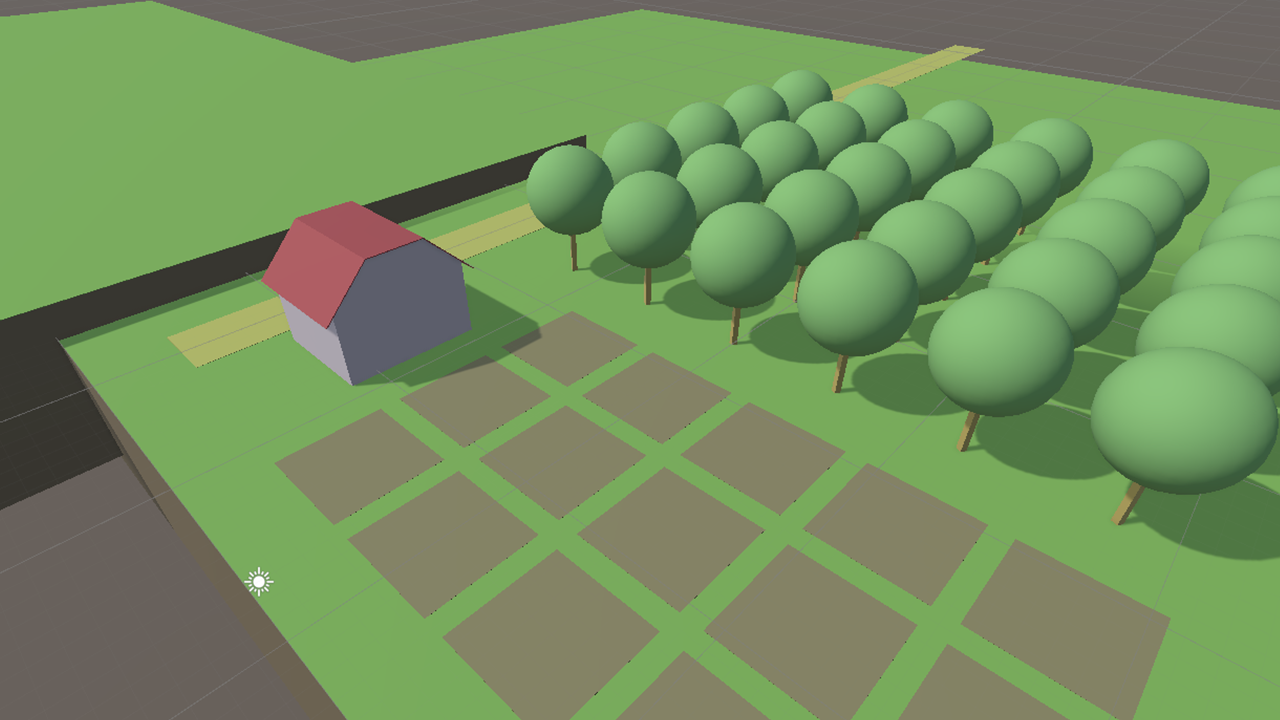
- Arrange your Lighting. I’m using a warm sun (#FFE08C, intensity 1.25) with soft ambient lighting (#B3AF91).
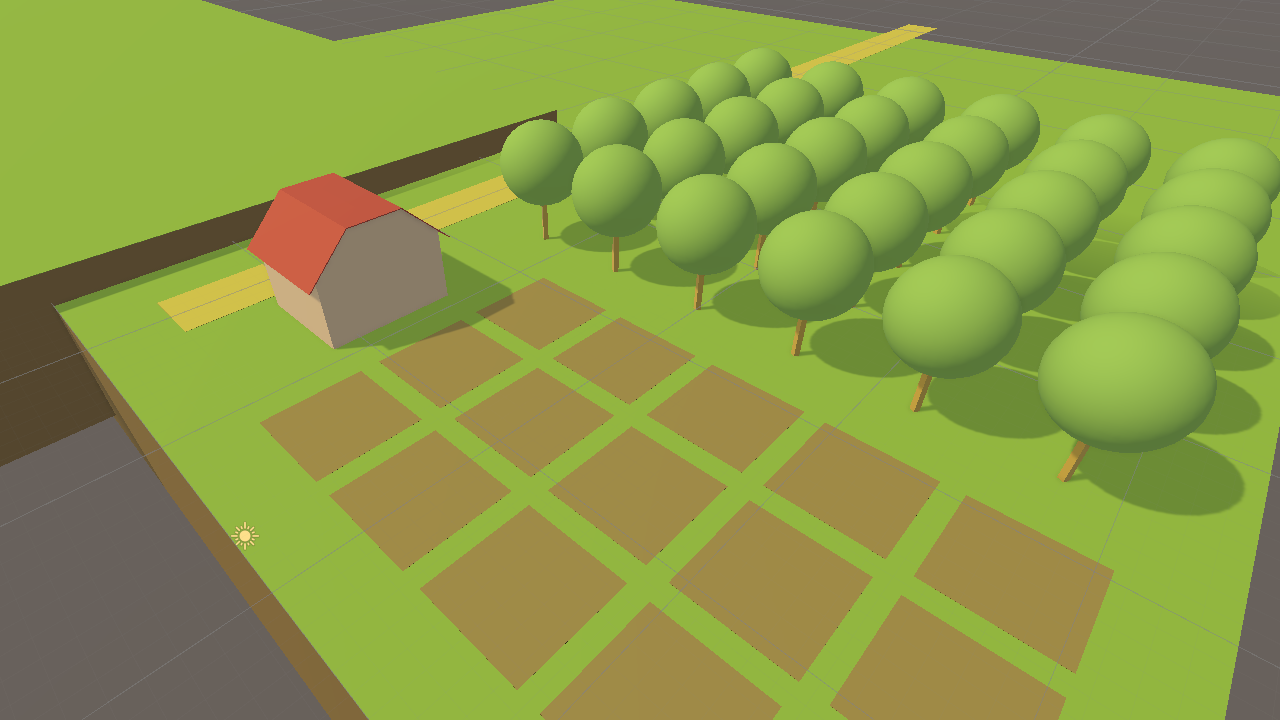
- Arrange your Camera using an orthographic projection to match the projection of the concept art.

- Add some water. I’m using the Stylized Water Shader from the Unity asset store.
- Finally, arrange Post-processing. I’m using ACES tonemapping and +0.2 exposure.
That is it! An easy but appealing scene, made in lower than a day! Have questions? Need to get more involved? Join the Hugging Face Discord!
Click here to read Part 2, where we use AI for Game Design.